

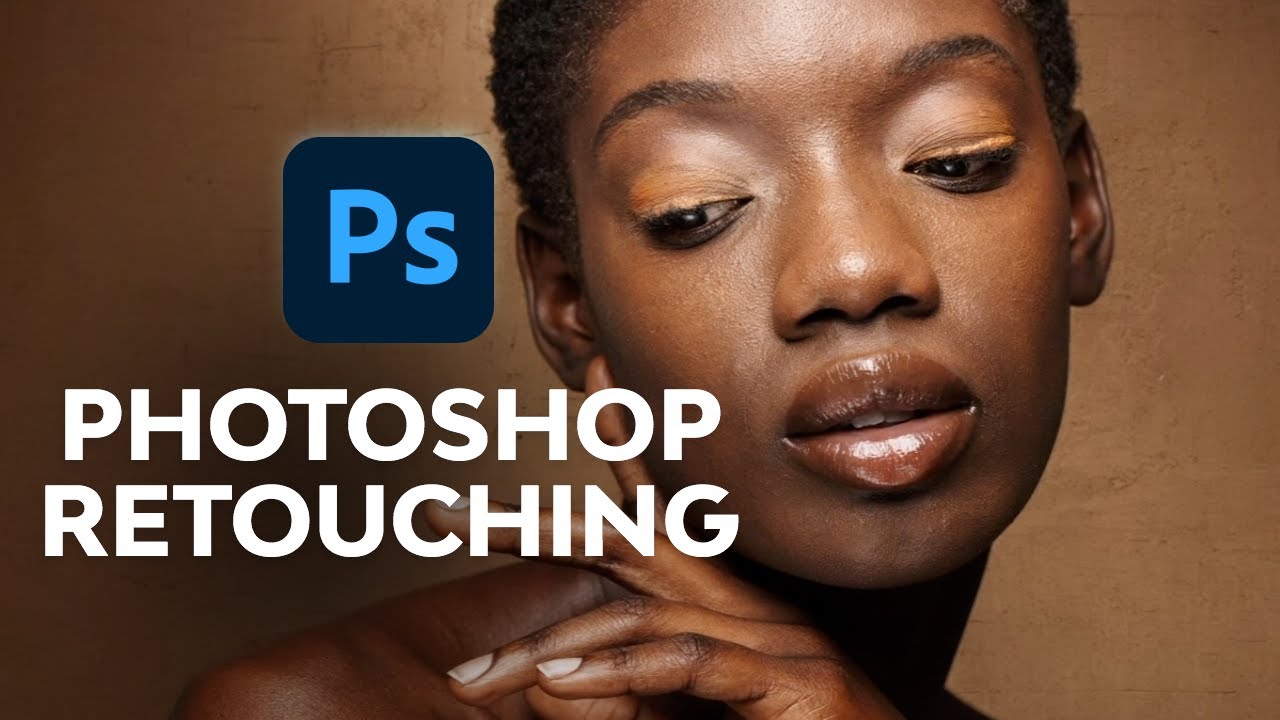
How To Transfer Makeup Design To Face
There is a truthful artistry behind great makeup, and understanding this procedure is hugely beneficial while retouching your photos. In this article, you'll acquire five ways to dramatically transform whatsoever makeup with a few key retouching tips, using Adobe Photoshop.
Makeup for Beauty Photography
Forth with wardrobe, props, and backdrops, makeup is one more than component that affects the impact of your photography. This is especially prevalent in dazzler and fashion photography, where makeup is often highlighted for added accent on fashion and drama. If you're a beginner, take a few minutes to learn the procedure from beauty gurus on YouTube, or learn more than about this art in our grade: Makeup Basics for Photograph and Video
For the purpose of these tips I'll be showing you how to dramatically transform the image Woman Stock (no longer bachelor) from Envato Marketplace. Go along in mind that I'm trying to replicate actual makeup techniques, which will cause a considerable shift in the appearance of our model.


How far y'all choose to take photo retouching is ultimately up to you, so feel free to dial dorsum and adjust your approach to fit your needs.
ane. Analyze the Photograph
The Problems
Earlier you fix whatsoever image, asses the issues offset.


Here are the nowadays bug with the makeup application:
- There's not plenty base of operations foundation to even out skin tone.
- The sunday may exist causing the makeup to melt, or smear.
- The general awarding is sloppy in areas.
- The colors aren't correct for the woman's pare tone and pilus.
Every bit a photographer, y'all'll eventually run across some of these bug. Even if y'all enlist the aid of a professional person, at that place are still a number of exterior factors that could affect the quality your model's makeup throughout the duration of your shoot.
There is a beautiful artistry backside makeup that you can use to photo retouching.
The Look
Information technology always helps to have a game plan. For this look, I want to emphasize the model's cute eyes, so I've decided on a standard smokey centre with a assuming red lipstick.


Professional makeup artists use confront templates to exercise their technique and way with bodily products. Create your own face template and experiment with different looks until you land on the one that is the best fit for your model and photo.
At present that nosotros accept a articulate thought of what we want, allow's tackle this image in Photoshop.
2. First with a Clean Slate
Create Remainder and Symmetry
From an artistic perspective, my immediate goal with this photograph is to create more symmetry and rest. To practise this, I'll create a indistinguishable of the original photo and place information technology into a New Group. Select the Gratuitous Transform Tool (Control-T) and Rotate the image counter-clockwise and so that the adult female'south face is more centered.


Liquify likewise becomes an important tool in creating symmetry. However, don't tamper too much with the uniqueness of your subject field's face. The following adjustments were fabricated using the Forwards Warp Tool (W).Continue a copy of the new centered photo on a separate layer in instance you need to start over.
Starting time I adjusted the lighting on the model'due south nose. Her olfactory organ ring casts an angular shadow across the bridge making the nose announced slightly crooked. Combat this by pushing the calorie-free to the right side.


Next, smooth out the neckline past pushing the hair to the edge in society to create a clean line. Finish the subtle warping by raising the nostrils and slightly tucking in the left corner of her nose.
Remove Imperfections
Every makeup creative person volition tell you that the first step to an incredible look is smooth, clean skin. Acne, a blemish above the surface, creates a shadow that is virtually impossible to comprehend up.
This is when Photoshop comes in handy. Use the Healing Brush Tool (J) and the Stamp Tool (S) to target specific areas similar:
- Acne and clogged pores
- Veins in the eyes
- Wispy strands of hair
- Facial hair
- Freckles


Take this opportunity to retouch the rest of the epitome, focusing on minimizing the look of devious hairs as well as any remaining facial pilus. I want to create a sleek and sophisticated look, which is why I want to clean upward the photo in information technology'southward entirety.
Create Smooth Pare
To create the advent of smooth skin I'll be using the technique of Frequency Separation to separate the texture in the image from information technology'south color and tone. This will let me to target specific areas, and use Gaussian Blur to shine the peel without losing its natural texture.


Learn more about Frequency Separation and means to digitally retouch pare with the tutorials below.
iii. Repair the Makeup
With an even complexion as the perfect base, brainstorm repairing the issues we originally assessed.
Fixing Faux Lashes
False eyelashes are hard plenty to apply only even harder to set in Photoshop. A lash band curled besides difficult starts to lift away from the natural lashes, revealing the illusion behind large, sultry eyes.
Look at the correct eye. Notice how the lashes are not that bad. Permit's utilize this side to repair the left. Select the Lasso Tool (Fifty) and create a selection around the right lashes and eyelid. Then Right-Click to select Layer via Copy. Flip the new lash layer by going to Edit > Transform > Flip Horizontal, and motility the lashes into place. Finish upwardly past using the Eraser Tool (Eastward) to blend the edges of the layer into your revised photograph.


Creating Total Brows
They say that eyebrows frame the face up, so never underestimate the impact of the right brow shape. After yous've digitally plucked away the stray hairs, fill the thin areas in using the Postage Tool (South). Hold Alt to clone pockets of pilus before painting them onto each brow. Follow up with the Burn Tool (O) to intensify and darken each shape.


Color Correct with Layer Blend Modes
The last major modify we'll make is removing the blue eye shadow. Not only is the shade muddled, but it doesn't fit the natural peel tone of our model. To modify the colour of the center makeup, create a New Layer set up to Color. Use the Eyedropper Tool (Due east) to set the Foreground Colour to her natural skin tone and first painting dark-brown over the blue makeup with the Castor Tool (B).


Instantly the blue color disappears, nearly as though it was never at that place. Keep color correcting the centre shadow while trying to avert discoloring her lashes.
4. Apply Digital Makeup Realistically
Contour and Highlights
In social club to apply makeup realistically, information technology'south important to understand the bodily process. During existent-life makeup application, makeup is applied to profile and highlight the features of the confront. Darker shades help to ascertain the bone structure and lighter shades are used to bring those features forwards. All of this is used to create more dimension and defined angles.
Do the aforementioned during your retouching. Set a New Layer to Soft Light to begin painting a lighter skin tone color using a Soft Round Brush to the areas shown in the image below. So set a 2nd New Layer to Linear Burn,and apply a muted royal color to define the cheekbones.


Creating the Smokey Heart
Switch over to a Hard Circular Brush to make clean up the black eye liner. Then lower the Hardness once more to 0% for the eye shadow. Whatever you do, don't paint with brown. Layer Alloy Modes volition cause whatever browns to evidence up with a rich, ruby-red undertone, so you want to utilize a slightly muted purple to achieve the issue you desire.


Focus on creating subtle drama and intensity. Report magazines to understand the way professionals apply makeup to the eyes.
Applying Digital Lipstick
For the lips, we'll exist switching from the original nude color to a rich crimson lip. If matched improperly, nude lips can often make a model appear sickly. Utilize a Difficult Round Brush to paint scarlet lipstick on a New Layer ready to Linear Burn.To make the lipstick look realistic, paint a darker shade around the edges for a prissy gradient upshot.


5. Finish With Adjustment Layers
No retouching would exist complete without a few Adjustment Layers.Past tackling the skin and makeup first, nosotros can now create the mood nosotros want for the photo.
The Adjustment Layers used for this photo were Curves, Gradient Map, and Levels. First I tweaked the contrast with Curves, then set a gray Gradient Map to Luminosity.


Finish this image with a New Aligning Layer of Brightness/Contrast. Add a warm summer glow by bumping upward the Brightness. Here is the final image:


Determination
No matter your budget, you can create sensational beauty photos with a little Photoshop magic. Study the artistry of makeup, and learn how to correct any mistakes for a natural await.
Try these techniques for your next photo shoot and feel free to show us what you come up up with!
Source: https://photography.tutsplus.com/articles/how-to-perfectly-retouch-makeup-for-beauty-and-fashion-photography-in-five-steps--cms-27092
Posted by: garciajacessid.blogspot.com
0 Response to "How To Transfer Makeup Design To Face"
Post a Comment